The Complete Guide to the Lost City Trek Colombia (la Ciudad Perdida)
Some links in this post may be affiliate links. If you click on them we may make a commission from qualifying purchases at absolutely no cost to you. Read our full Disclosure Policy here.
Just about everyone’s heard of Peru’s Machu Picchu but have you heard of Ciudad Perdida in Colombia? We hadn’t! Only when I began researching various South American countries for our Christmas vacation last year did I stumble across this lesser-known lost city.
In fact, it was the primary reason we chose Colombia for our trip! The Lost City Trek doesn’t see the high volume of tourism other similar sites do . . . yet, and we hoped to see it before that happened.
The Lost City, or Ciudad Perdida trek is found in the Sierra Nevada mountains just north of the Caribbean city of Santa Marta and close to Parque Tayrona. It is a rewarding but challenging trek that will bring you to a mystical ancient site that has not yet been engulfed by tourism. This really is one of the best places to visit in Colombia!
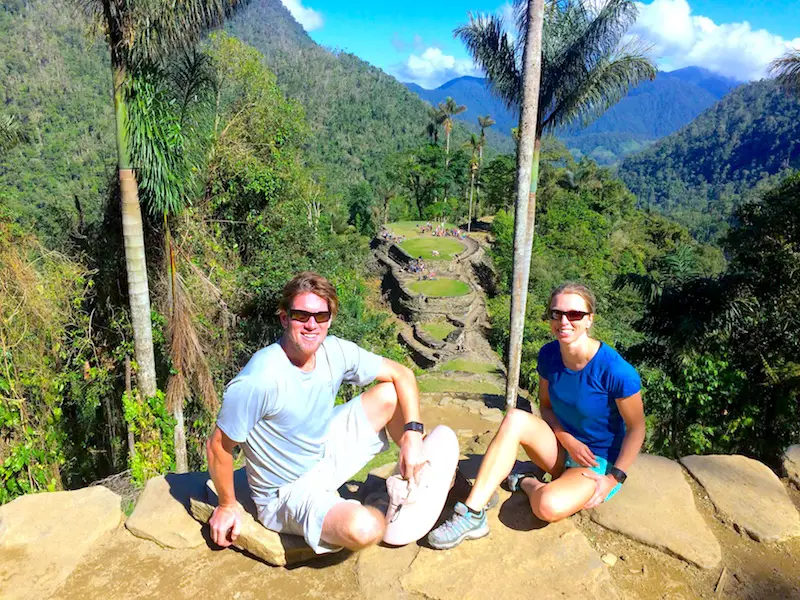
Let us take you through what to expect on this multi-day trek, with a day-by-day account. Beyond that, we’ll also give you our road-tested Lost City packing list and a few tips to consider if you are thinking of signing up for this adventure.
Completing the Lost City Trek, Colombia
La Ciudad Perdida
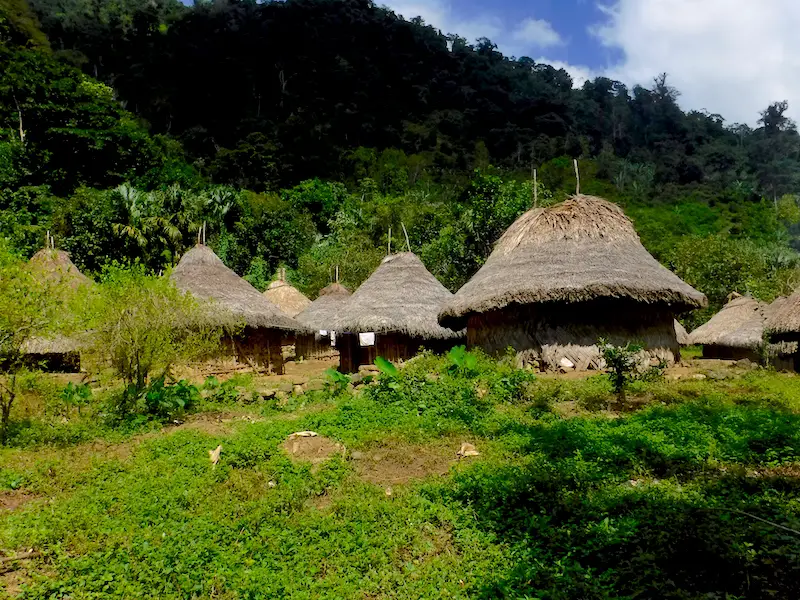
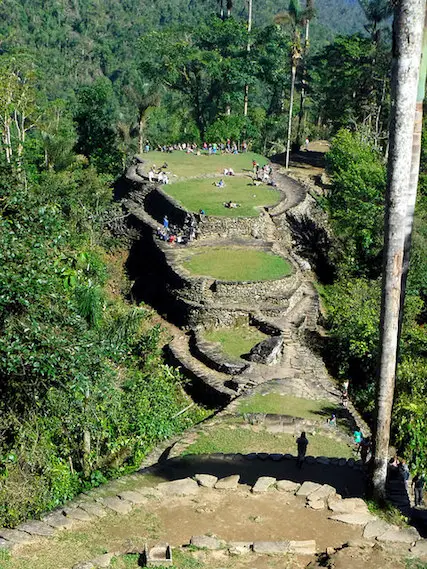
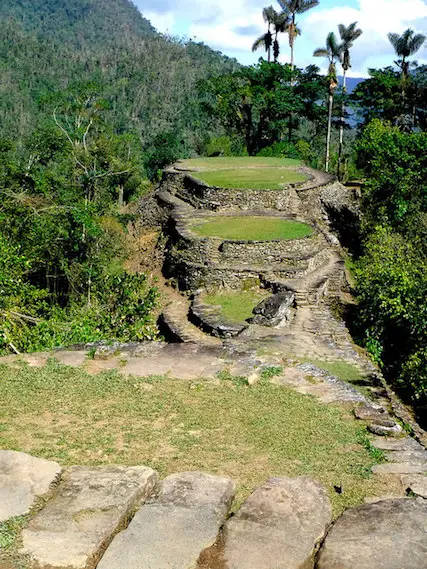
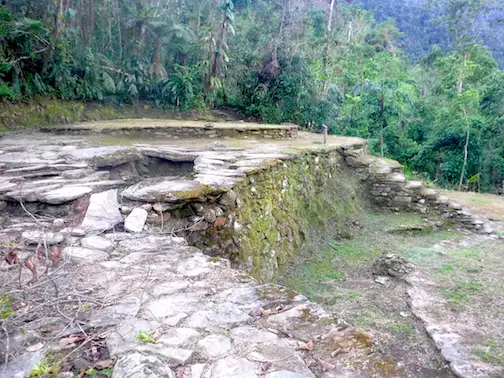
The Lost City dates back to around 800AD, over 600 years before Machu Picchu. It consists of a large network of paved pathways with several large plazas and terraces built into the mountainside alongside areas for ceremonies, feasts and homes.
Deserted shortly after the Spanish invasion, the jungle slowly took over until the city was lost to the world. It wasn’t until the 1970s when a group of looters stumbled upon the carved stone steps that La Ciudad Perdida was rediscovered.
Read our Travel Tips for Colombia before you plan your trip.
What to Expect when Hiking to the Lost City
Trekking Ciudad Perdida is more about the journey than the destination. Although that’s not to say the ruins of the Lost City aren’t impressive but they are no match for other ancient sites we’ve visited. The hike through the mountainous jungle, however, is well worth the time and effort.
The hike is an ‘out and back’, meaning you retrace your footsteps to return from the Lost City ruins. From El Mamey to the Lost City it is 23.3km (14.5 miles) for a total of 46.6km (29 miles).
Note: Our overview of this multi-day hike is based on our experience doing a 4-day Ciudad Perdida tour with Expotur. There are also 5- and 6-day options available and other companies with whom you could book. All these factors could change your experience slightly. All tours do, however, follow the same basic route so scenery and level of difficulty are the same for all.
Day One
Distance: 7.6km
Tours begin at the Expotur office in Santa Marta where we were packed into vehicles to drive to the start of the hike. After about an hour on the highway, you will stop at a small store with snacks and a bathroom before continuing up a dirt track to El Mamey (Machete) about 1.5 – 2 hours later.
The hike begins and ends at the same restaurant with lunch. We sat down watching those completing the trek arriving to massive cheers and high fives. We all looked apprehensively at each other wondering about what lay ahead for us if they were that excited to be done. No turning back now!
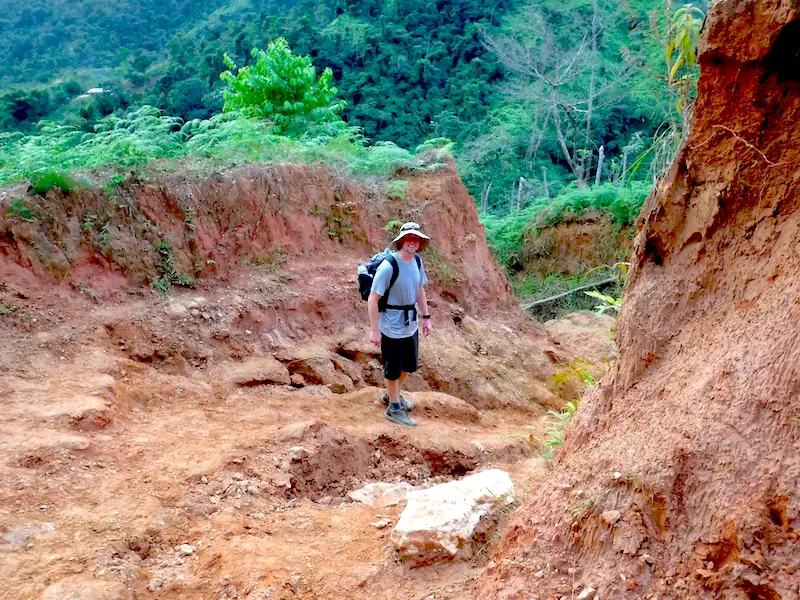
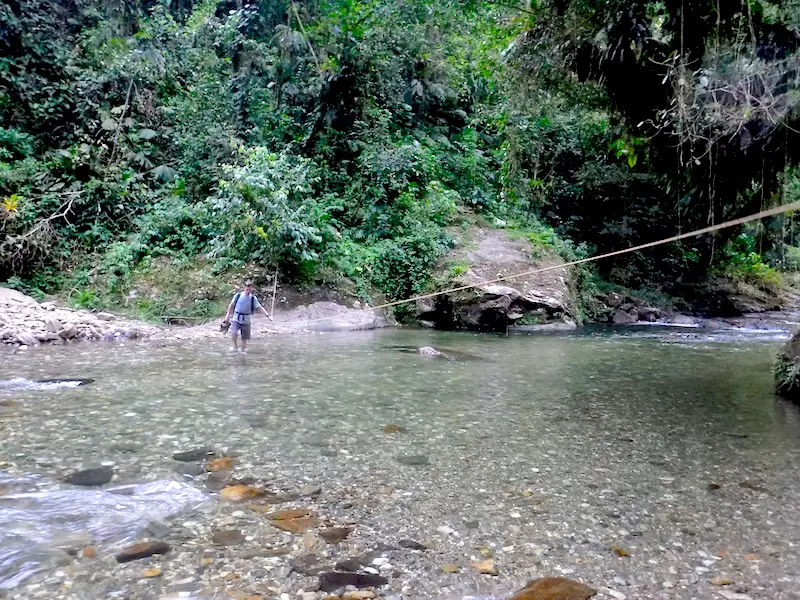
After a short flat section through forest and a small river crossing, the uphill begins. For over an hour you are climbing up a relatively steep grade with absolutely no shade. When we did this hike there wasn’t a cloud in the sky and it was insanely hot! I’m not sure I’ve ever sweat quite so much. After a couple of hours, you will come across a rest spot with a fruit snack and the option to buy cold drinks.
Feeling a little refreshed from a snack and rest in the shade, the trail continues uphill for a while before becoming a steep downhill stretch through a deep, clay track and then finally reaching camp!
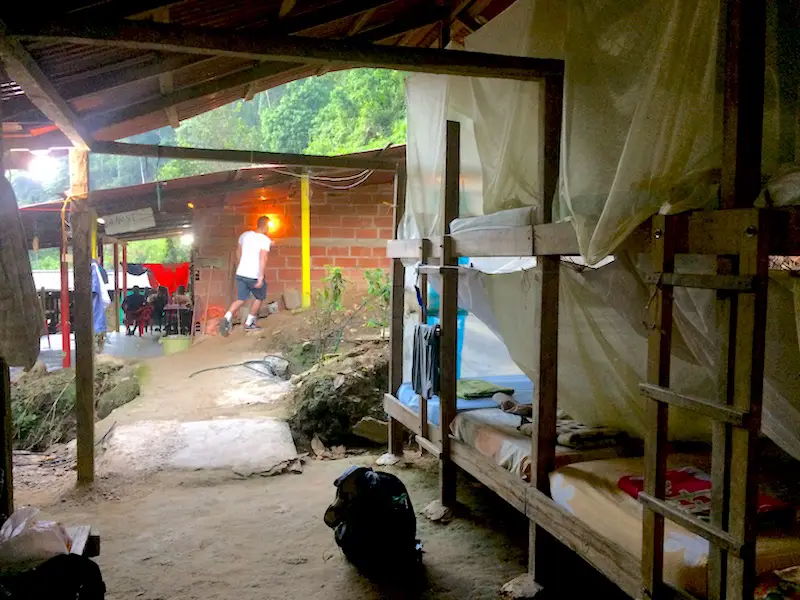
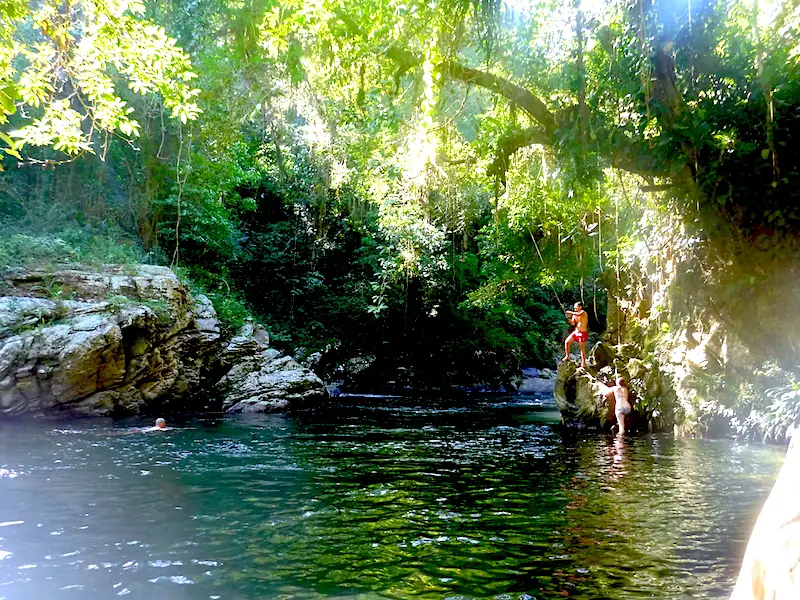
Finding a row of bunk beds, we each threw our bags onto a bed, grabbed swimsuits and headed straight out for the waterfall and natural pool we had been promised. The water was freezing, but a perfect end to a long and hot few hours on the trail!
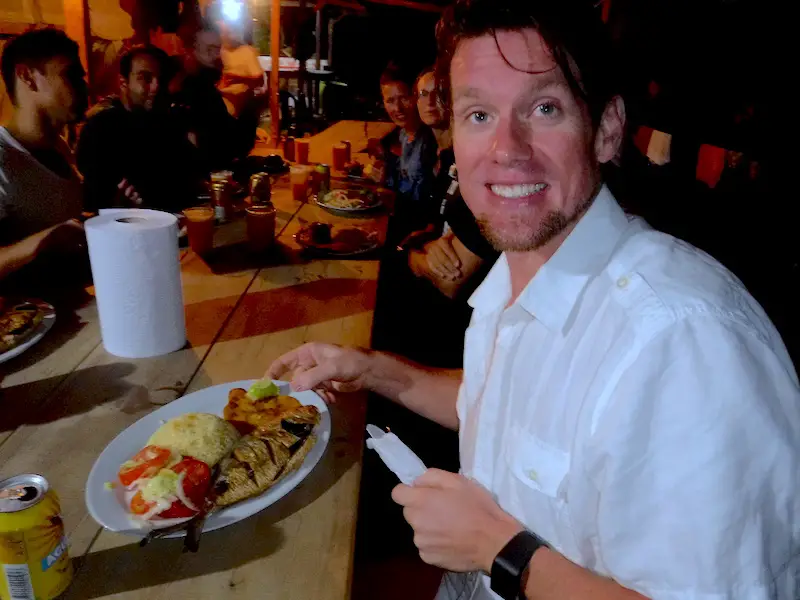
At dinner, Terry and I exchanged nervous glances as plates full of food with a whole fish – eyeball and all – was brought out to each of us. I whispered, ‘just eat the middle’ to him before we both hesitantly began. To our surprise, it was delicious! Whether it was the day’s exertions or the skills of our cook we couldn’t say, probably a bit of both.
Day Two
Distance: 14.7km
We awoke to the sound of our cook tapping on our bunk beds. Still pitch black outside, a peek at my watch told me it was shortly after 5 am! By the time we had retrieved our still damp clothes and dressed, a hearty breakfast was being served to everyone and it wasn’t long before we were back on the trail.
Each morning César, our guide, would explain the trail ahead and we were told the day would begin flat before a tough 1-2 hour all uphill section in the afternoon. Apparently ‘flat’ has a different meaning when hiking in Colombia but it certainly was one of the easiest sections of the entire Ciudad Perdida trek.
Day two is the only full day of hiking and so it is a long, tough day even not counting the incredibly challenging uphill stretch. However, our guide did a great job of breaking it up. Throughout the day we had two fruit breaks, a lunch break, a swimming stop at the river and time at an indigenous Kogi village to learn about their culture and customs.
One of the best things about our tour was that we didn’t need to wait for each other. Our cook was always racing ahead to the next camp and our guide would remain back with the slowest members of our group. This meant we were free to go at our own pace, stopping periodically at fruit stops to wait for others to catch up.
On our long uphill climb, we powered ahead, preferring to go as hard as we could and rest at the top. Others were able to go as slow and stop as often as necessary.
Day two took us all the way to Paraíso Camp, base camp, where every group stops the night before reaching the Ciudad Perdida. It is a busy place! This camp was my first trepidation about this trip. Are we too late? Is the Lost City already too ‘discovered’?
At this camp there are both bunk beds and hammocks and, depending on how early your group arrives, you may not have the choice. There are cold water showers but, being at a higher elevation and raining, I found it to be quite chilly already. The nearby river is another option.
One member of our group woke up with some stomach issues and we heard this is not uncommon. During our time there the toilets all backed up due to the sheer volume of people using them. Hand sanitizer is your friend here and be sure to have some Immodium on standby!
Day Three
Distance: 13.6km
Day three begins early. Really early. However, this is because today is the day you discover the Lost City, la Ciudad Perdida, the reason for all the pain and suffering of the past two days hiking in Colombia’s hot and humid jungle. Not only is the goal to reach the city before the sun rises over the mountain peaks, but also to beat some of the other groups there.
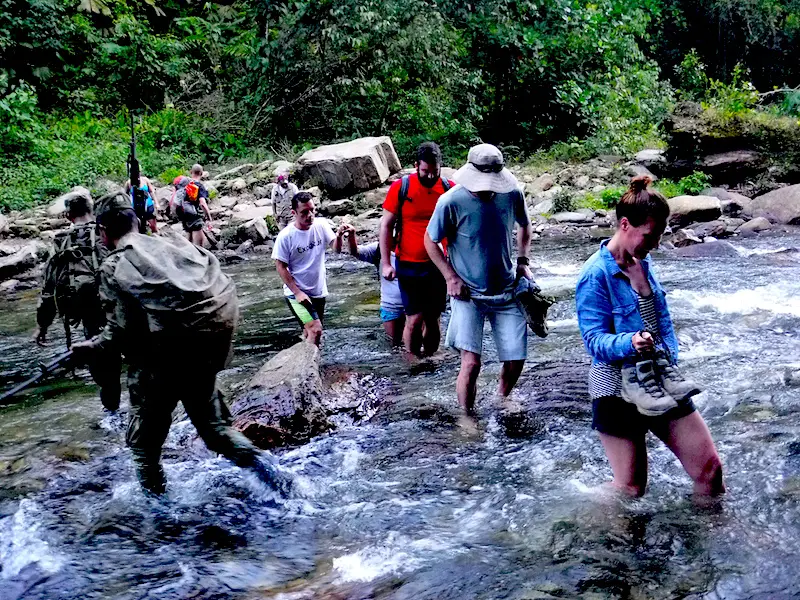
After another early and delicious breakfast, we left camp and followed the river for a while, crossing it once again. Beginning flat and easy, the trail ends at the start of the 1,200 ancient stone steps created by the Tayrona people over 1000 years ago, before even Machu Picchu.
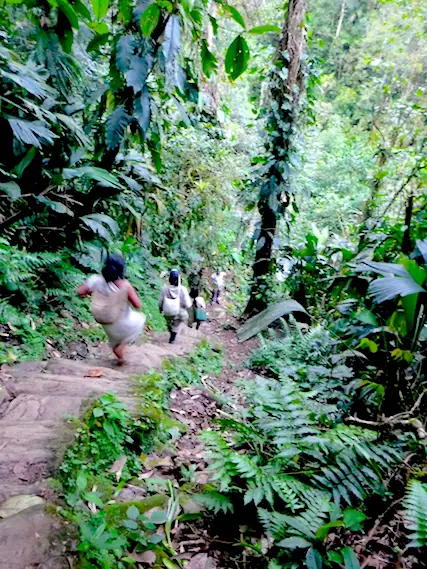
These steps are no joke. They are narrow, uneven and steep and yet we had to pull over a couple of times as young people from local native tribes literally ran down the steps.
When we reached the top, our guide gathered us around the map and gave a brief description of the various areas we were about to see. There is actually so much more to La Ciudad Perdida than the famous terraces everyone pictures.
While there are a number of people in various groups at the site, they have organized themselves well. Each group takes a turn at the top with a clear view of the terraces. Our guide talked about, and showed us, ancient carvings, a jail, places for offerings and more.
The local Wiwa tribe still has a shaman who lives at the site and sometimes talks to groups about his tribe and the Lost City. His family live there also in a traditional hut.
[columns] [span6]
[/span6][span6]
[/span6][/columns]
From here, we returned to our overnight camp for lunch before continuing on to our new camp for the night. This is the same camp where we had lunch on Day 2. The skies opened during our afternoon hike and our mostly downhill trek (remember that really tough long uphill section?) became muddier and muddier.
We were now slipping and sliding our way down a fast-moving stream. Again, we were glad to be able to go as fast as we could, hoping to reach camp before it became too slippery. Still, it wasn’t soon enough and we were soaked right through.
This camp doesn’t have electricity so we had a delicious dinner by candlelight with another group. It was a great opportunity to chat with some different faces and compare stories. A few local indigenous children soon came over and were very quick to get ahold of, and use proficiently, our cell phones. It’s amazing the impact the western world and its technology has had on even the most remote cultures!
Cold, wet and exhausted, no one lasted long that night. As I crawled into bed I checked my watch and discovered it was only 8:15 pm! By night three it didn’t matter how uncomfortable the beds were, I think everyone slept soundly.
Day Four
Distance: 12.7km
Despite the end being in sight, this was the hardest morning to get up. It was cold and damp. And then we had to put on our still soaking wet clothes and shoes. But the finish line was within reach and we were on a mission.
We sped ahead with a couple of our group mates and reached our first night’s camp in record time. This was our morning snack stop so we grabbed a seat and waited for our group to catch up.
For those doing the 5-day hike, this would be their stop for the night. They had the rest of the day to relax and would finish the following morning. Up until this point, there is no difference between the varying length Lost City treks. As we were already here by 9 am, we couldn’t imagine not continuing on to the end!
I had forgotten that such a long downhill section had led us to our first camp so the exhausting uphill section was a not-so-pleasant surprise. However, once we summited it was all downhill! Terry and I actually ran the last hour or so of the hike, letting gravity do its thing and help us out.
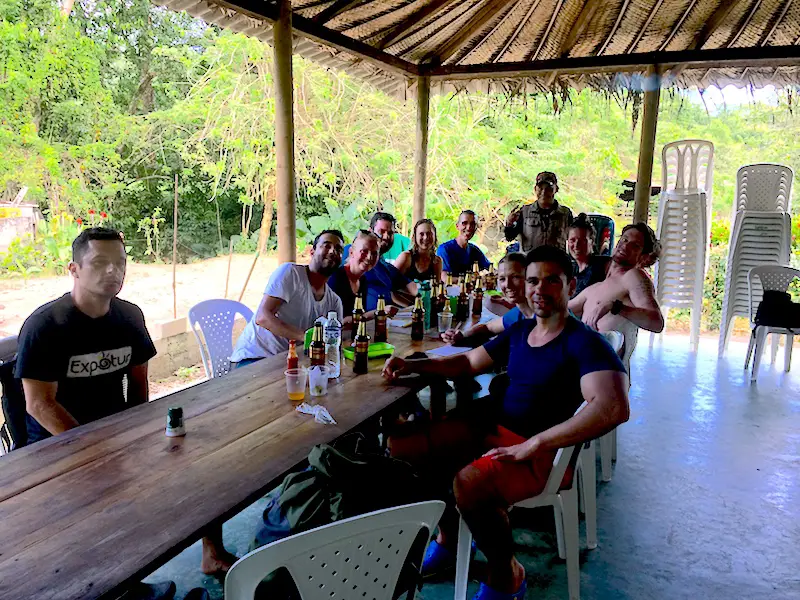
Before noon, we were back at the restaurant where it all began, ordering cold beers and grinning foolishly at each other. We were a few beers in by the time the rest of our group arrived and we were served our well-deserved final meal of our Ciudad Perdida trek.
What to Pack to hike the Lost City Trek
You will be carrying everything you bring for your entire trek so pack light! I completed this with a small daypack with no problem. This Lost City packing list includes everything you need as well as a few specific recommendations we discovered.
[columns] [span8]
First things first, you need a backpack to carry everything in. We always use our hydration packs when hiking. The reservoir holds more water than a bottle while keeping it cool and our hands free!
This daypack from CamelBak is an excellent option with multiple exterior pockets, ventilated back for that tropical jungle heat and plenty of space for your belongings in addition to the water.
[/span8][span4]
Clothing
- Lightweight hiking shorts x2 {his & hers} – these are perfect with lots of stretch and pockets for everything. (Two outfits will let you alternate so you hopefully have dry, if not clean, clothes to put on each morning.)
- Lightweight workout tank top x2 {his & hers} – you can’t beat these cost-effective multi-packs!
- One evening outfit (long sleeve t-shirt and long pants like leggings or long underwear). You want to cover arms and legs. It’s chilly at night and the mosquitoes are ridiculous.
- Two pairs of performance socks. Merino wool is known for temperature regulating, sweat-wicking and anti-odour. Perfect for four days of super sweaty jungle hiking.
- Two sports bras for hiking, one for the evenings. Obviously, the men can skip this one!
- Four sets of underwear – quick-dry fabrics are your friend again.
- One swimsuit
- Hiking shoes. You don’t need boots and you could manage in running shoes but hiking shoes are the perfect amount of support for these paths.
- Sandals for the evening (we packed waterproof Keens sandals which were perfect for both the camps at night and the multiple river crossings)
Toiletries
- A small container of soap/body wash (you likely won’t use more than once or twice)
- Toothbrush and toothpaste
- Deodorant
- small first aid kit (bandaids/blister packs, Polysporin, tweezers, Immodium/Pepto Bismal)
- Any personal medications
- Insect repellant (read below to find out why we highly recommend Nopikex)
- Sun cream (you are definitely going to need sweatproof and waterproof!)
- Sunhat – wide-brimmed is key to protect your ears and neck. Don’t forget quick-dry and with a handy chin strap.
Miscellaneous
- Camera (with an extra battery). Between the river crossings, waterfall jumping and tropical rains, this is the perfect trip for a GoPro.
- Camp towel – we love our PackTowl in the beach size. From beach to shower to hiking, they show no signs of wear after years of near constant use!
- Sleeping bag liner (will cut down your chances of bed bugs and mosquito attacks at night, plus it will keep you warmer)
- Dry bag (to keep your evening clothes and beer money dry)
- Plastic bag (to keep any wet clothes away from the dry stuff!)
- Refillable water bottle if you don’t have a CamelBak – at least 2L worth.
- A headlamp (or a regular flashlight will do too). We love the quality of our Black Diamond lamps.
- Waterproof backpack cover – it WILL rain! This one has straps that hold the cover on – after losing my first cover, I’ll never go back.
- Rainjacket {his & hers} – optional: we carried ours but never wore it due to the heat
- You might want walking sticks (you can also find one on the trail or from people finishing as you begin)
- Some change. Each camp sells beer and chocolate bars, perfect after a long day!
What to Consider for your hike to Ciudad Perdida
Weather
The Lost City hike can be done year round. Groups leave every day of the year. However, December to March is the dry season. While it will still almost certainly rain in the afternoons at some point, it will not be as heavy or as frequent as in other months. This is also, therefore, the busy season so expect more people trekking.
Bugs
The Lost City trek takes you through the jungle so even those not usually prone to bites need to be careful. We saw people finishing as we began with barely a patch of unbitten skin on their legs. However, mosquitoes LOVE me and I came out unscathed thanks to the best recommendation ever from someone we met in Medellín.
Once you are in Colombia, go to a pharmacy and ask for Nopikex (in bar form). This is a DEET soap. Wet your skin, rub it on like soap but don’t wash it off. It leaves a coating on your skin that acts as a barrier. I would reapply while still in the shower each evening and every time we stopped or got wet. I seriously came out with a total of three bites! Read this post for more excellent tips to avoid mosquito bites.
Difficulty Level
This hike is challenging. There is no technical skill or equipment required but with up to 7 hours hiking a day, you should have a decent level of fitness. Hikers can move at their own pace (within reason) and there are plenty of breaks for snacks built into the schedule.
If you exercise regularly and can handle hiking on uneven ground for extended periods of time, you can definitely complete this hike! Choose the number of days you wish to hike for based on your speed and fitness level. 4, 5, and 6-day options all cost the same.
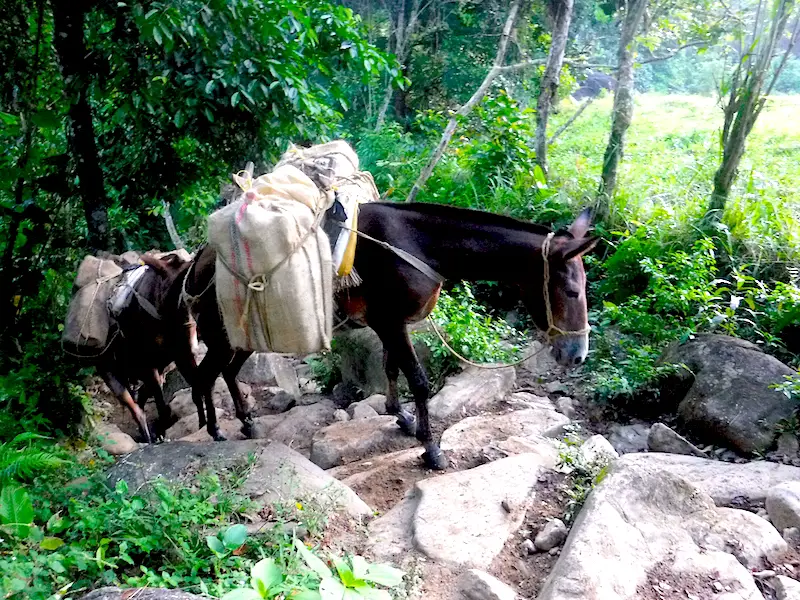
There are mules along the trail that can be rented for difficult sections if you really need a break. However, the challenging parts were steep and either muddy, rocky or sandy. It seems like a rather scary option. Just take your time and you will get there. Our guide also told us that some mules fall to their deaths each year so it’s not something we can get behind.
Clothing
I read recommendations to bring one hiking outfit and wear it each day. It will be sweaty within minutes anyway. I chose to pack two outfits (shorts, top, bra, socks) so I could alternate outfits each day and give them a better chance to dry. As long as your clothing is super lightweight and takes little to no room, I highly recommend this! It was just that little bit more comfortable.
However, If you’re planning on wearing pants or long sleeves for sun and bug protection then stick to just one outfit. Terry packed four outfits, choosing to have fresh clothes each morning and, while I’m sure he was happy when getting dressed, later regretted the extra bulk in his bag. Remember, whatever you pack better be necessary. You are carrying it all.
Food
All food is provided and it was plentiful! Aside from meals, there were morning and afternoon fruit stops conveniently located at the top of challenging ascents. After dinner, we were given a dessert of a chocolate bar. Save this for a mid-hike snack the following day. If you are concerned about hunger you could pack trail mix or protein bars but I really don’t think you’ll need them.
If you have food allergies, talk with your tour company before booking to ensure they can accommodate, otherwise, there are no meal choices. Having said that, I am an extremely picky eater and I found everything delicious!
Safe drinking water is provided at each camp in the morning and again at lunch. You need to bring enough water for the first day and then refill each day. You should be bringing at least 1.5 – 2 Litres of water and then refilling with this much at each stop. I highly recommend using a bag that holds a reservoir to make drinking on the go much easier.
Where to Book your Trek
Currently, you must hike the Lost City with a guide as there is no public access. The route takes you through indigenous land and your guide will pay a fee on your behalf as you enter.
There are a few options and you should research reviews to choose for yourself. The main companies are Expotur, Wiwa Tour, G Adventures, Turcol and Magic Tour Colombia. Essentially the only difference will be the guide so be sure to ask about anything important to you. Consider the languages they speak, whether or not they are indigenous, their experience etc…
We chose to hike with Expotur in Santa Marta and we were not disappointed.
How much does the Lost City Trek cost?
For 2019, the cost of the hike has been raised to COP1,100,000 ($350US or $465CDN). All companies are (supposed to be) the same price and offer basically the same services. When you consider everything this includes, it really is still a great deal.
Included in your fee:
- A guide and cook
- Sleeping accommodations (rustic but dry) for each night
- All meals and snacks from lunch on day 1 to lunch on your final day
- Indigenous land entry fee
- Transportation to/from Santa Marta to the trailhead (they will return you to Parque Tayrona if you ask)
- Baggage storage in their Santa Marta office (so you can carry only the basics)
- Travel insurance
If you’re not picky about the day of departure, you could book your Lost City trek once you arrive. However, if you need a specific departure date, or are travelling during high season, we would definitely recommend booking in advance online.
Find all our Colombia posts here.
Have you survived the Ciudad Perdida trek in Colombia? We would love to hear your stories, or questions, in the comments below!
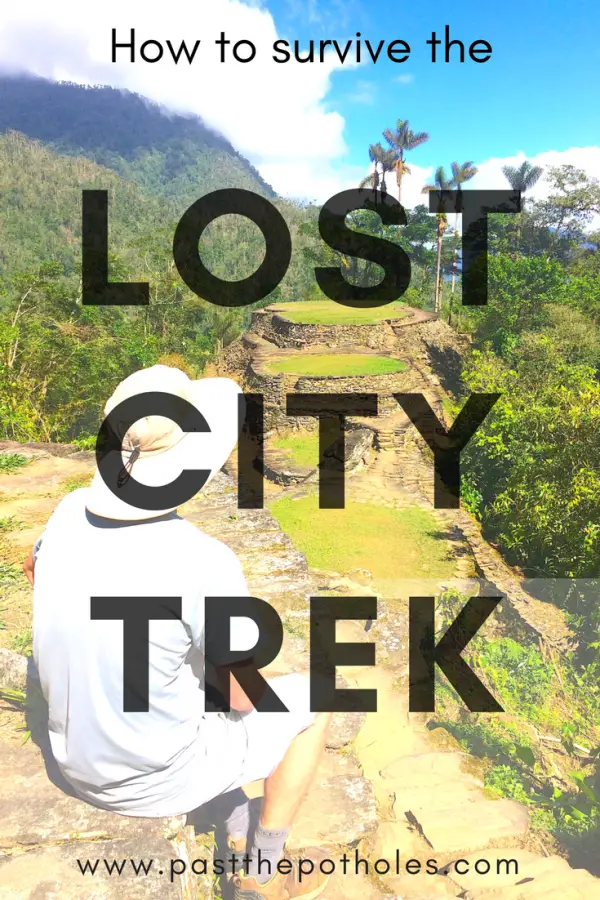
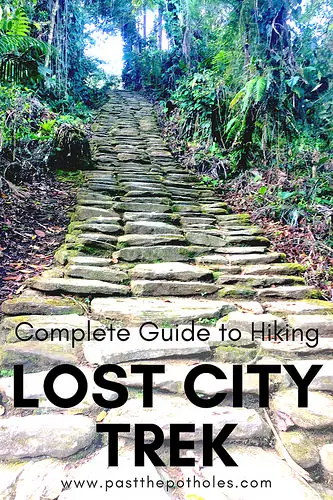
If you found this post helpful, consider pinning it for others to find!
[columns] [span6]
[/span6][span6]
[/span6][/columns]
Return to our Destinations page now.
Ready to start planning? Use our favourite travel websites for the best prices and options.


Great! Thank you very much!
Did you tip?
Hi,
We did. Our group talked about it and decided on an amount for us each to put together and divided it between the guide and cook/translator. I forget exactly how much it was but I think in the neighbourhood of $10-20 each.
Are you going? If so, enjoy!
great post!
Thanks 🙂